Material Selections for Patio Pavers
 A patio is a wonderful place where you can congregate with friends and family and enjoy the peaceful settings of your own private haven. You can have some flashy furniture with a barbeque and it can be your dining and entertaining area that will look over your stunning pool or landscape.
If you not yet have a patio then why not look into installing one. A patio is easily installed. You can do it yourself or hire a professional to get the job done right. There a number of materials that you can use as flooring for your patio.
We will now discuss some of the many materials that are suited for patio applications.
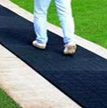
The Benefits of Using Concrete Pavers for your Patio
 Concrete pavers are produced by man. They are made up of a cement mixture. They are high in durability, versatility and flexibility making them most popularly used material for flooring applications.
Concrete pavers can be easily maintained by doing several light procedures on a weekly basis to maintain their finishing textures. They also can be replaced so simply if the become damaged, chipped or cracked.
Concrete pavers can be made to any size shape or form. The shaping process takes place after the material has been mixed. It is placed into moulds of a desired shape and left to set to produce the chosen shape. You can have your own customized concrete pavers made by consulting your nearest concrete paver retailer. It is that simple.
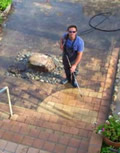
 Snow removal and snow ploughing is easily done on a concrete patio surface. You can also stain or seal the finish of your concrete pavers to protect it from any harsh stains or damages that may occur.
Concrete pavers are low in cost. So if you choose concrete pavers for your patio it will be an investment for your home.
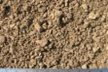
The Benefits of Using Natural Stone pavers on your Patio
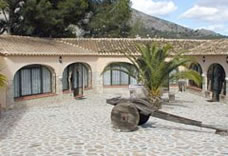
Natural stone pavers are found all over the world. Natural stone is produced over millions of years in places such as; our beaches, lakes, caves, river beds, mountains and under ground. They are found and later quarried. Natural stones are quarried in block formed in sheets. They will then be taken to manufactures of natural stones and preserved and produced into their pavers shape.
Natural stone pavers offer many dazzling colors, shapes and sizes. Your natural stone patio flooring will be one of a kind because of the natural color affects it offers.
 Natural stone pavers require little maintenance such as general cleaning duties like; sweeping and removing any dirt, dust or grime as these pests can affect the finish of a natural stone paver. Natural stone pavers are generally porous materials therefore the do need to be sealed with a specially formulated sealer to ensure their top surface texture is safe.
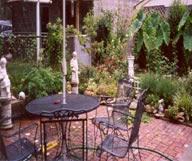
Natural stone pavers can be laid in many magical patterns. You will enjoy the feel and look of your natural stone paved patio.
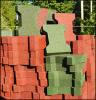
The Benefits of Using Brick Pavers on your Patio
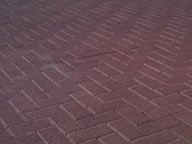 Brick pavers are also a man produce material. They are made up of aggregate and cement. This mixture is fired at very high temperatures. This process is called the firing process. It is carried out to make certain the mixture id bonded together which makes it strong and long lasting.
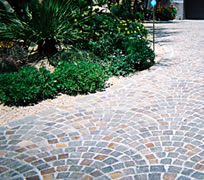
Brick pavers can be applied to a number of areas around your home. They are available in many shapes but their well known for their rectangular shape which is most commonly preferred by users. Its color is of earthy and rustic tones which can be used to blend and compliment the overall color scheme of your patio.
Brick pavers are easily maintained and they too can be replaced if necessary. Brick pavers are easily installed in no time at all.
Hopefully this article has helped you make up your mind on which the right material will be for you and your patio.